


Believe it our not, we’ve officially lived in House #6 for a full year!
If you’re new to the House #6 journey, we purchased this house knowing it had great bones and major investment potential, it just needed a little work. After we signed the paperwork, we put our stuff in storage moved into an apartment for three months of renovations.
I truly love the impact of a Before and After post, but remember, this After has been in the works for an entire year!
So far, you’ve seen the full Before of House #6 and the transformations of the laundry room, bar, powder bath, Gray’s room and our owner’s bathroom. Today, I finally get to reveal the full renovation of our children’s shared bathroom.
On first glance, the original hall bath doesn’t look so bad. But once you really dig in, you’ll see why the space needed to be demo-ed.

Be sure to watch this video to see the bathroom in the before state. If you only want to see the bathroom, slide to the 2:40 mark and be sure to keep an eye on that vanity. I’ve seen and renovated a ton of bathrooms but I’ve never seen a bathroom vanity that was that short!
The flooring tiles were cracked, the tub and fixtures were well past their prime and the shower tiles were also worse for wear. I was thrilled to see that the vanity, while only having one sink and being very short, was the length and width of a modern double vanity, so I knew we’d get two sinks into the space.
The To Do List for this project looked a little something like this:
- new double vanity with two sinks and lots of storage
- new low profile and water efficient toilet
- new tile flooring
- removing all trim work and detailing, adding back in trim that matches the rest of the house
- new lighting
- working vent fan/light to meet code
- new tub
- new shower tile
- new fixtures throughout
My goals style wise were simple: create a gender neutral bathroom for two very small kiddos that could be played in, had tons of useful storage and that could grow with them. And naturally, I wanted the design to be a little playful, mixing some of the traditional vibes of the house with pops of fun.
And so we demolished it!
Demo day is my favorite day of any renovation. It’s just so satisfying…


Luckily, we didn’t find any surprises behind the walls, which is a common renovation budget buster. We were expecting lots of damaged surface wood, cracked tiles and old electric and that’s exactly what we found.
Once we took stock of the changes we needed to make, considered our budget and the timeline, we decided not to move any plumbing, meaning we put everything back in the spot where we found it. The vanity, showers and toilet plumbing were updated and modernized but not moved. You can see the single plumbing line for the single sink and the toilet is still in tact in the pic below.

Ready to see it in all of the After glory?
All sources are at the very end of this post and all of the beautiful photos were taken by Demi Mabry Photography.


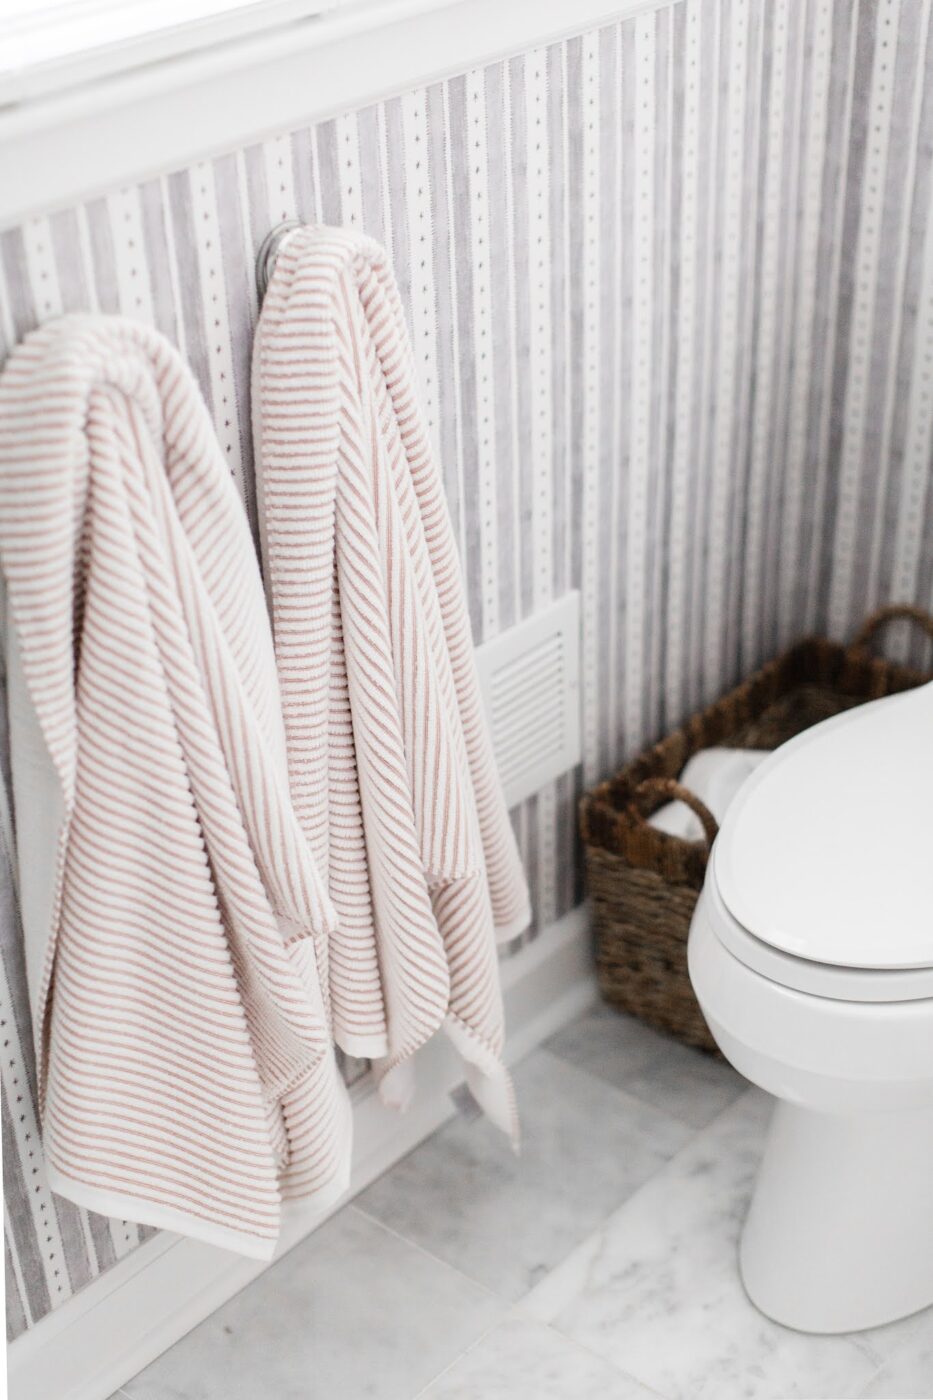
I wanted the lighting and mirrors to be fun and playful while the vanity, tile choices and even the wallpaper lean toward the traditional. The striped wallpaper and the grey subway tiles just belong together. Before the space was wallpapered, it felt almost naked.
Once that paper went up, the entire room was instantly pulled together.

We all know that those glass canisters can’t live here full time. Usually that dish has my kid’s gummy vitamins in it!


I am just so pleased with how the space turned out. The tile floors, wallpaper and bright colors of the artwork make me so happy. The texture and muted colors of the rug paired with the mixed metals and clean subway tile just work. And a special shout out goes to my husband who had to wait an entire year for this all to make sense.
Source List:
Contractors: Skysail Construction
Paint color on trim and ceiling: Benjamin Moore Wedding Veil
Wallpaper: Milton and King Star Stripe
Vanity in white, top color is pulsar
Light Fixtures another, similar option
Framed painting of a house: a flea market
Framed Painting of Frida: Demi and Olive/Frambridge
Towels similar
Necklace on stand: House of Nomad Design
Toilet Paper Basket: similar
Rug: Vintage via House of Nomad Design
Wood Stool: IKEA, non-slip legs DIY here
Want to see even more of House #6?
and stay tuned, our newest major project starts soon!
Your article helped me a lot, is there any more related content? Thanks! https://accounts.binance.com/pt-PT/register?ref=YY80CKRN