


So, I have a secret: I have no idea what I’m doing when it comes to make up.
Like, none.
I watch my beauty blogger friends and think “oh, I can do that!” and then things go all kinds of rogue. I wish I had the natural touch, or love of the process, when it comes to whipping my mug into shape but I think it’s time to accept my fate and call in a professional for help.
Thankfully, I met Olivia (a Mary Kay girl!) at a family wedding a few weekends ago while she was beautifying a bride and a gorgeous pack of bridesmaid. Needless to say, it only took one flawlessly finished face for me to beg her to help me learn a few tricks of the trade. Olivia is also a toddler mom, so she was not at all shocked when I told her I basically had two minutes to spend getting ready in the morning. With that in mind, I asked her to show me the ropes of creating a super quick make up routine that we called “the drop off face” – something that I can slap on as I’m wrangling the baby out the door in the morning.
Brace yourself, a make-up free photo of me is up next.
Here’s the before face, complete with leftover smudged mascara

Buzz, your girlfriend, woof.
And, thankfully, here’s my Drop Off Face

Super easy, quick and barely-there. Notice my acne and discoloration is covered, I have a nude lip and a little definition around the eye.
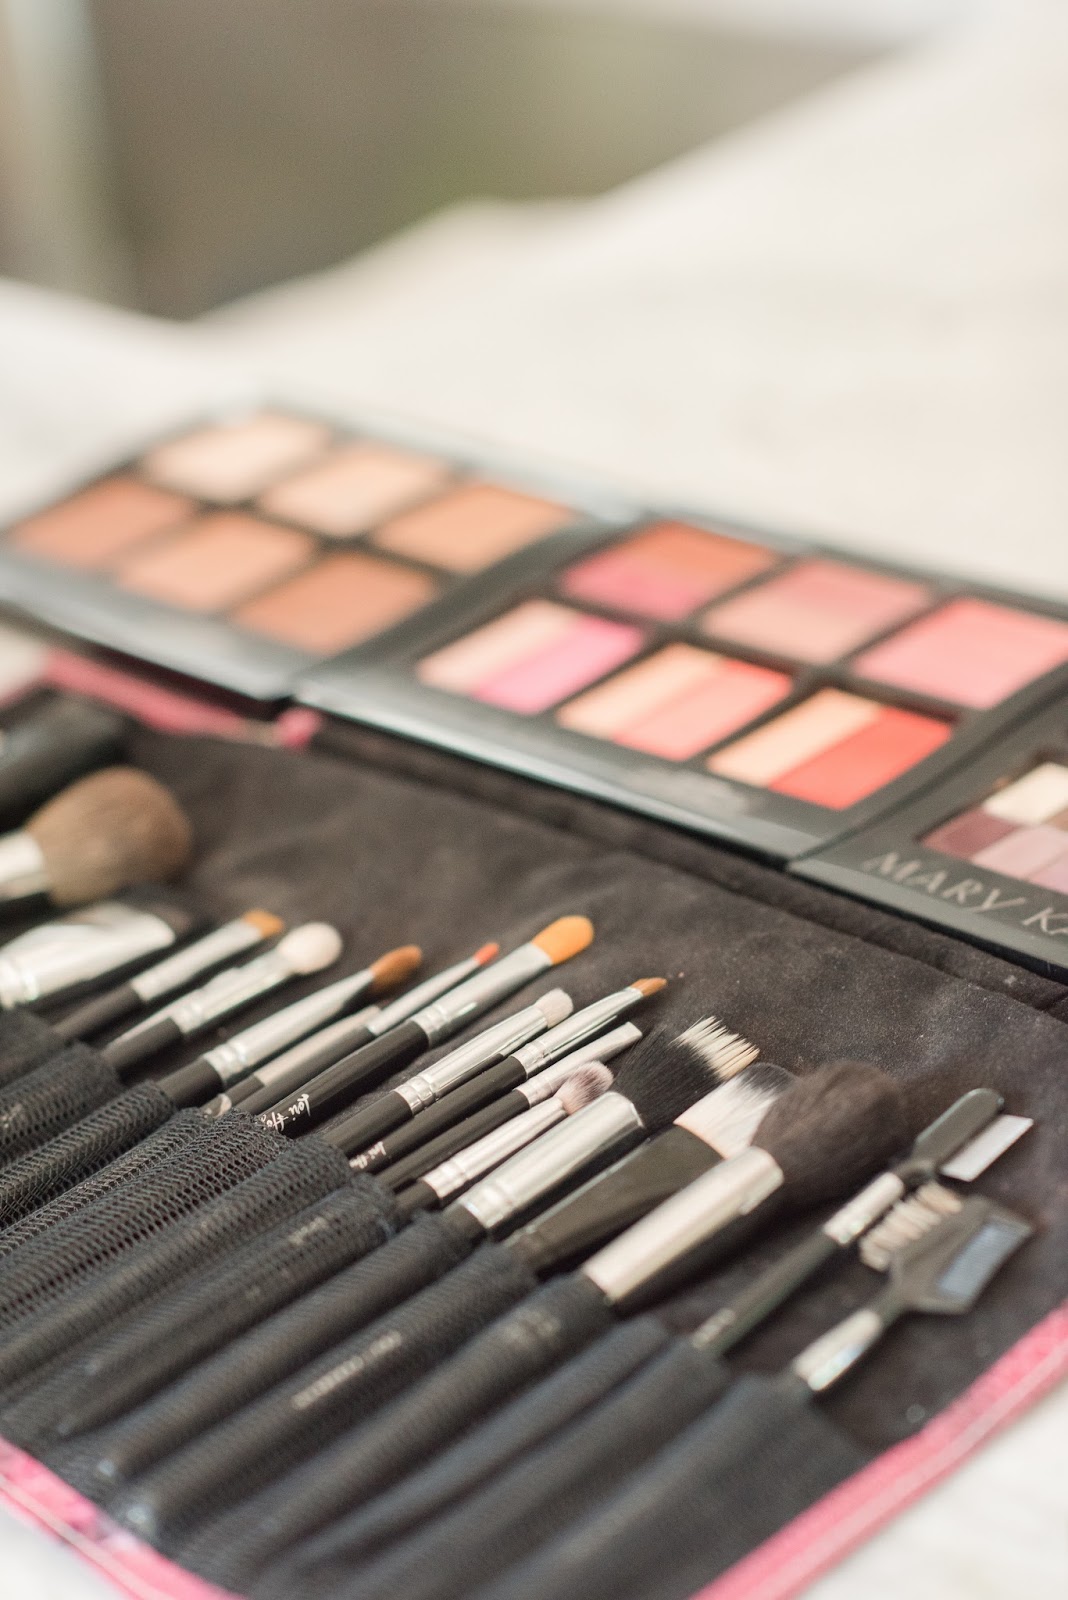
Here’s what Olivia did:
filled in my brows (something I would have never included in my 2 minute routine!)
lined my upper lid
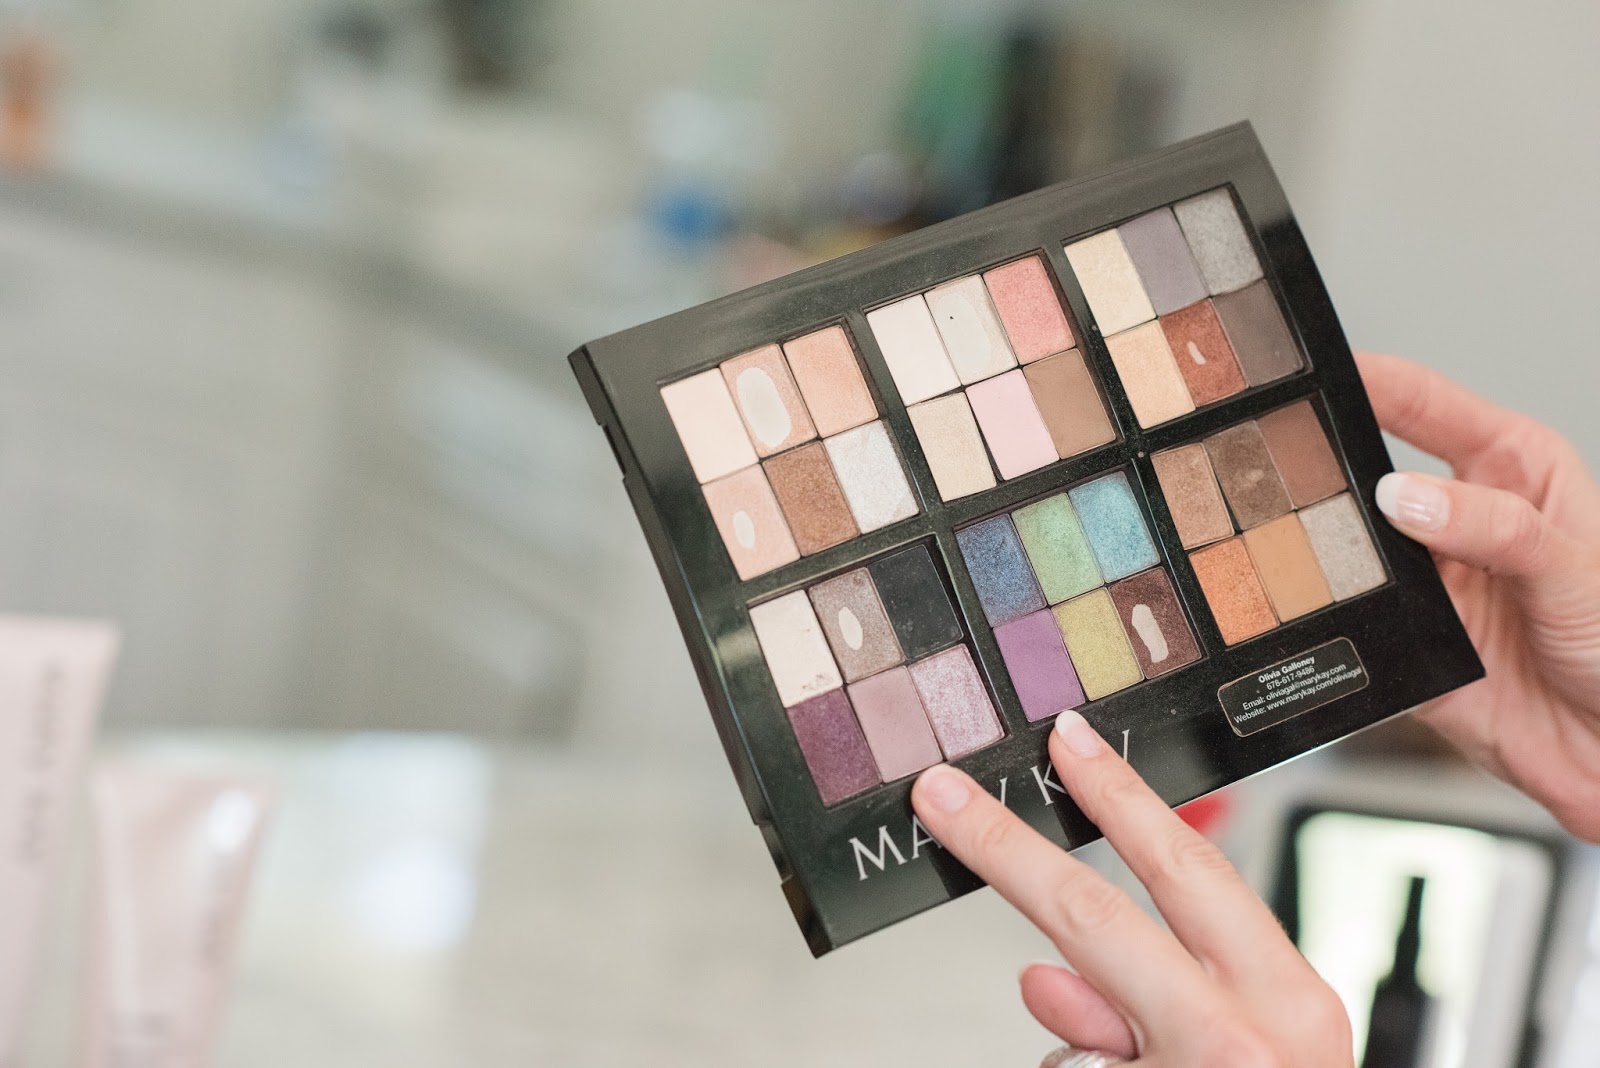
used a brightening cream eye shadow shade on my eyelids (such a gorgeous, bright shade!)
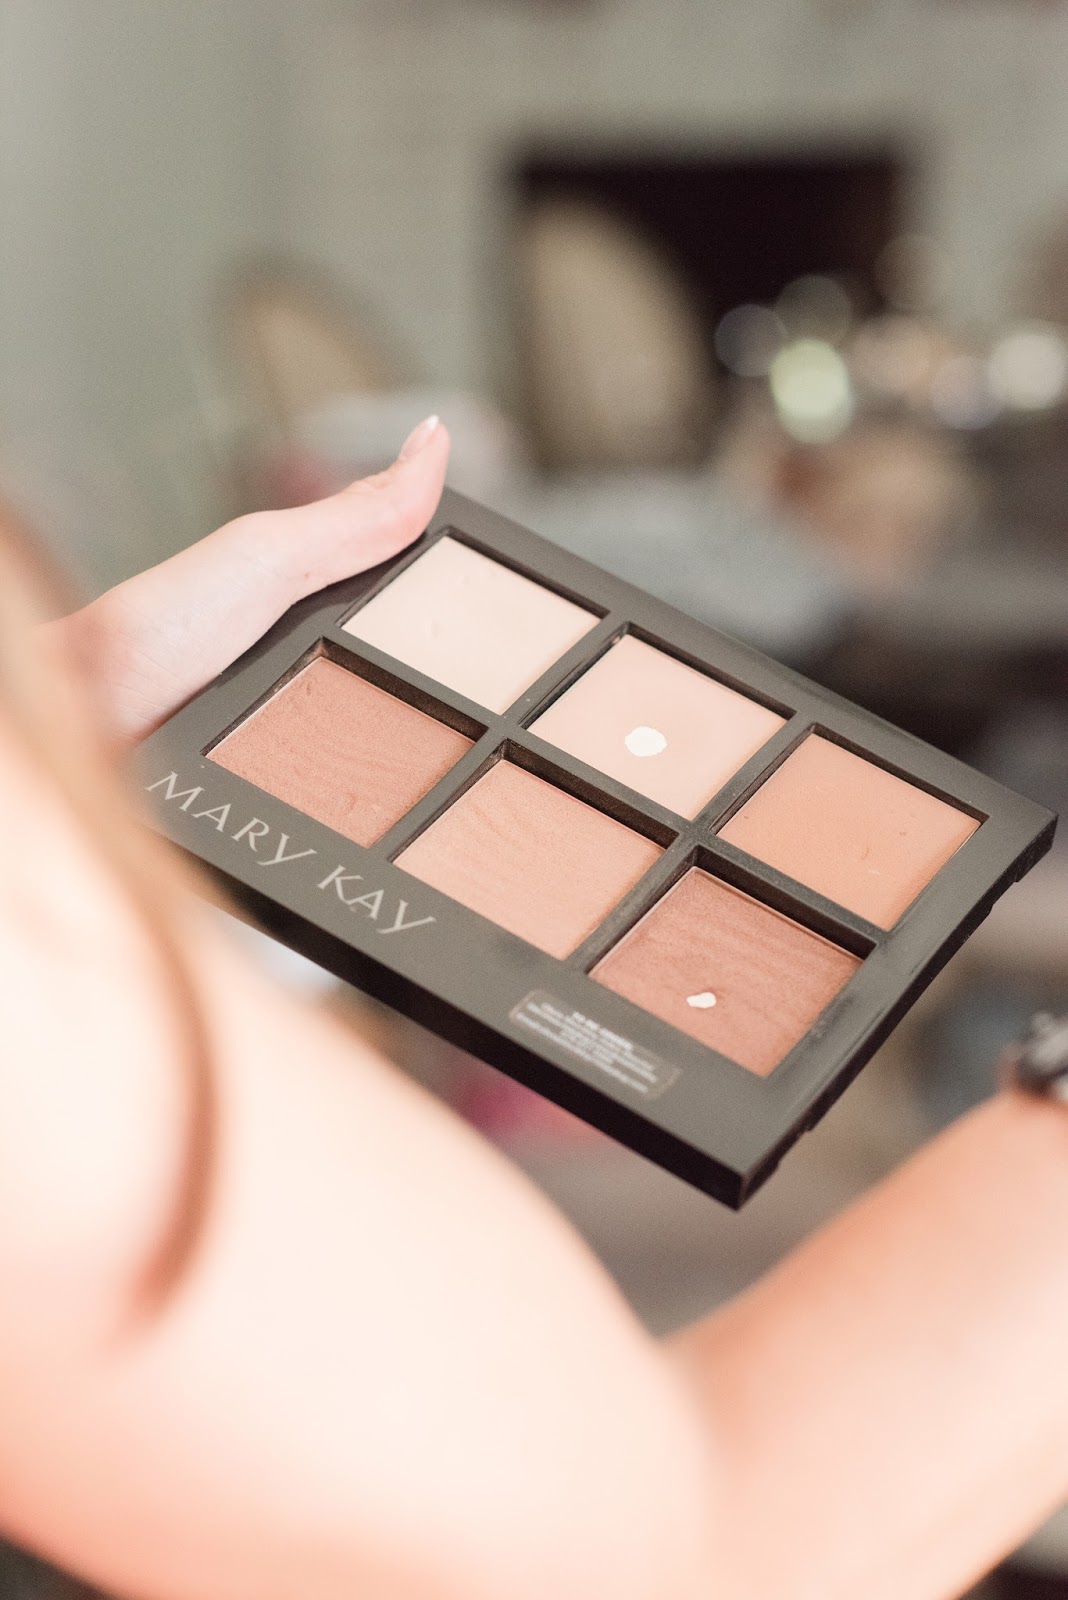
a quick swipe of blush on my cheeks
a super simple, neutral gloss
And here’s what I learned:
I put on my make up in the wrong order! I do all things skin first – primer, foundation, contouring etc and leave the eyes for last. Oops, that’s wrong! Do the eyes before foundation etc in case you smudge or drip any eye make up on your face.
Eyebrows should be included in even my fastest make up application – I thought that because my brows are naturally dark and thick, filling them in was only for a day when I’m making a real effort or being photographed for the blog.
Eyeliner should never just go on the bottom – if you’re only going to do one, do the top! Otherwise, do both.
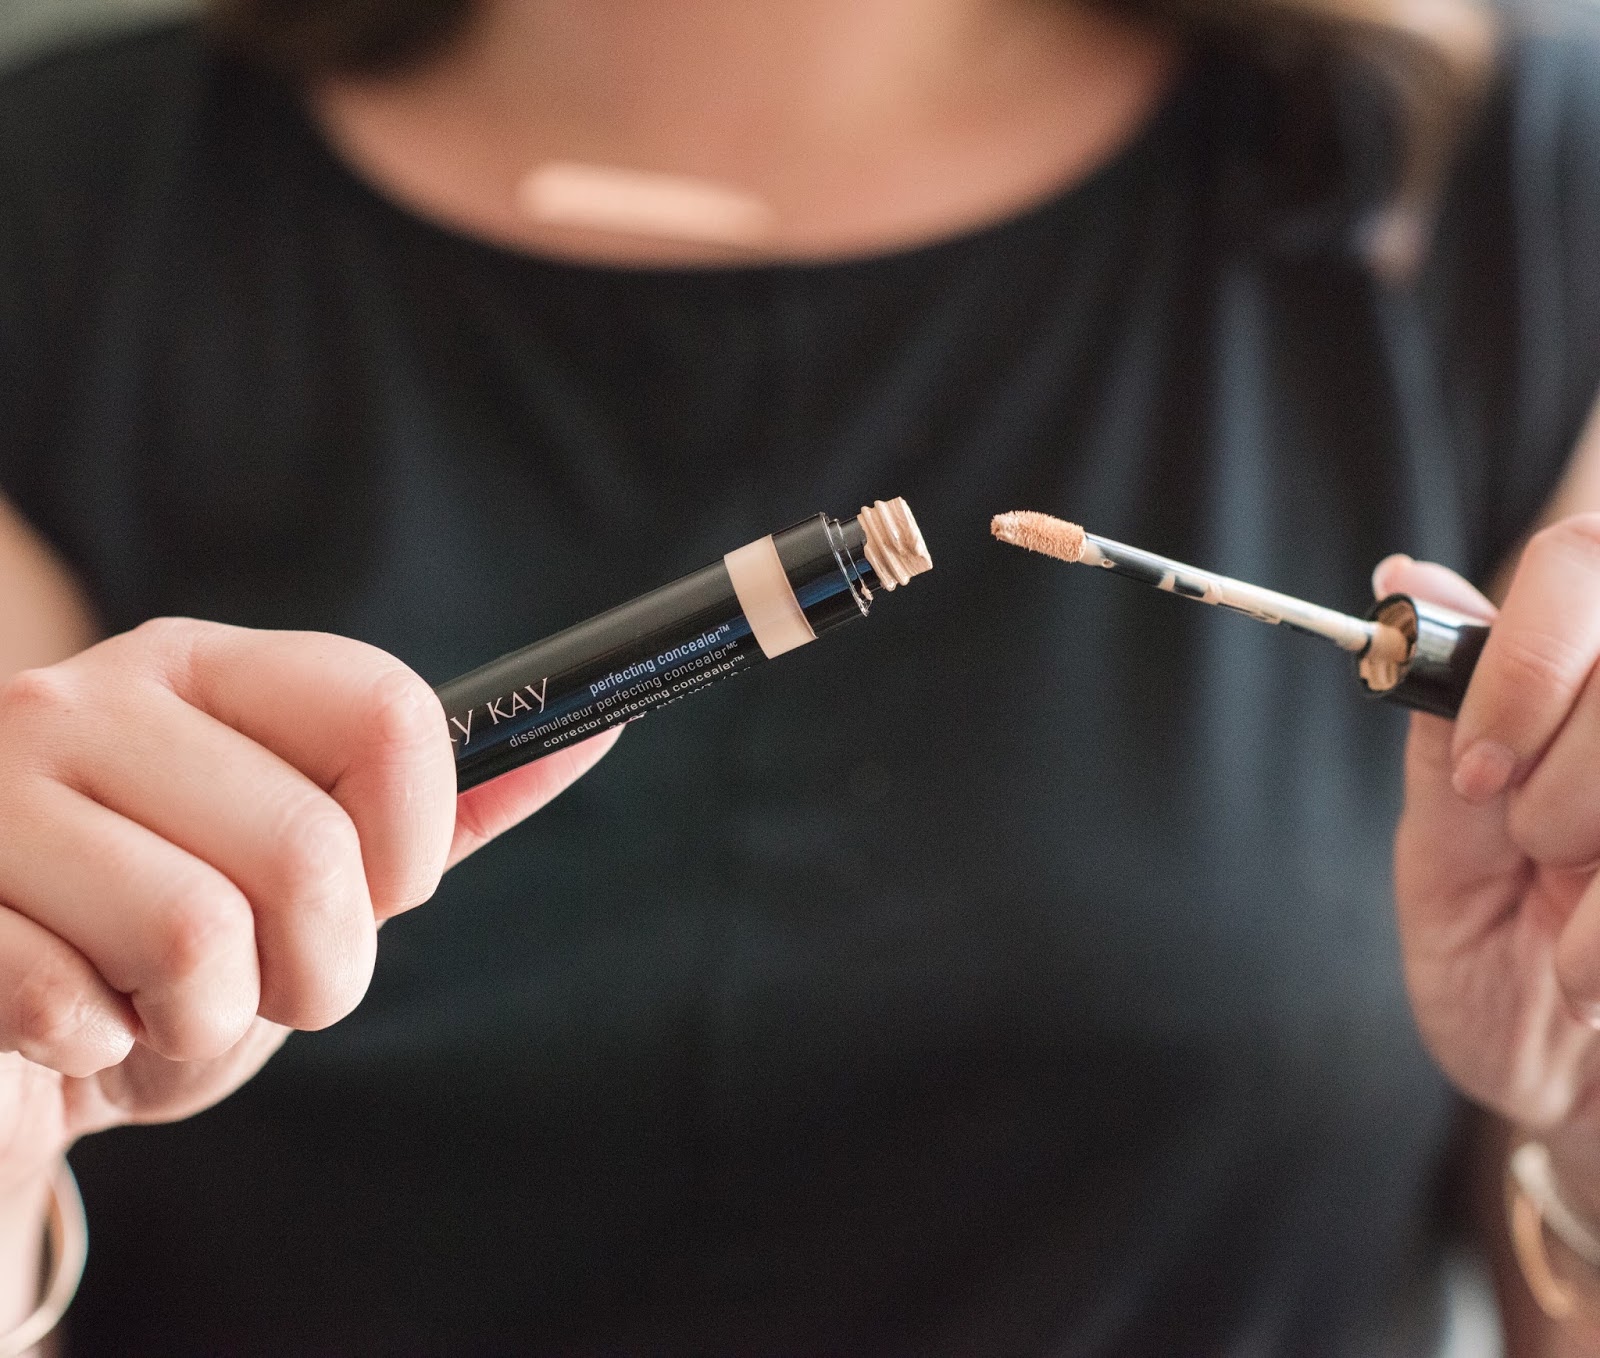
A CC cream can provide coverage, even if you have acne, discoloration or scarring like I do. I assumed that I always needed to use a true foundation for coverage but Olivia proved me wrong!
I have trouble with eyeliner and mascara smudging because my skin is naturally oily – I always thought I was using the wrong product or nothing was truly waterproof, but no, it was me all along. A primer will be key for me if I want to keep my eye make in place.
And because we were on a roll, I asked Olivia to take my Drop Off Face to a Date Night Face
Before:

After:

Whoa, mama! Here’s what Olivia did (and, good news, it only took a few more minutes on top of the quick routine!).

Layered two shades of purple eye shadow (hey brown eyed girls, did you know that purples are gorgeous on us?!) – a lighter shade for the lid and the darker for the crease.
brightened my eyes with under eye concealer
added a layer of foundation
used a light beige concealer as a highlighter under my eyes on between my brows
added another layer of blush
popped on a bold coral lip – my now go-to for summer!
sprayed it all down with a finishing spray!
I was so impressed with how quickly it all came together and how fresh my face looked. Thank you to Olivia for your patience and showing me the ropes, I am so grateful for your skills! And also many thanks for not batting an eye when I blurted out “isn’t Mary Kay for old ladies?!” and for showing me the light – you were so right, I am addicted to the mascara and eyeliner!
I have linked all of the products and shades used on my mug through Olivia’s page but this is not a sponsored post and all opinions are my own!
Thanks for the pretty pics, Christa Rene Photography
It makes a huge difference! I am absolutely making brows apart of my regular routine, no matter how little time I have!
I can't leave the house without filling in my brows! It's addicting once you realize how much of a difference it can make!