


Ya’ll I can.not.believe. that I made curtains. I am definitely not what one might call crafty – I’m sure you caught that when I declared my love for spray paint because it’s so effing easy. Spray Paint is about as crafty as things can typically get without me injuring myself. I would like to say, before we get started, that these No Sew Curtains are maybe a step above spray painting but with a major chance of injury – consider yourself warned.
So, in our Master we have a very oddly placed window on the wall that now houses our king sized bed. Centering the bed made the window issue even more obvious and it was just bugging me. I saw on Pinterest somewhere that the best way to make a weirdly sized or placed window look less jail like is to hang curtains around it like it’s a normally sized and placed window. That sounded reasonable, except if I do that on our bed wall, I will have one beautifully curtained window on the left and blank wall on the right 2/3rds of the room.
Did ya’ll catch all that?
Basically, I’m saying the window looks rogue and putting pretty curtains around that will just be putting lipstick on a pig.
In the name of over compensating, I decided that perhaps I might Zsa Zsa the place up a bit and whip up a statement wall of fabulous fabric curtain panels. Justin thinks our bedroom is getting to be a little too much, if you will, (like Kris Kardashian Jenner herself designed it), but I’m still totally in to it.
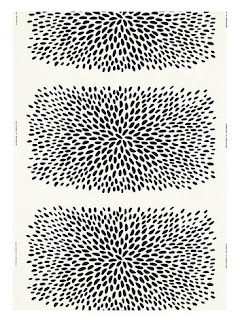
I started by reading this post by a design blog that I love, Dwellings by Devore. I wanted long, floor to ceiling curtains so I used the dimensions of the Ritva Curtains from Ikea. While I was perusing the Ikea website for the Ritva Curtains, I stumbled upon this fabric:

After a bit more Pinteresting, I decided that I could buy a gazillion yards of Tradklover and make curtains for a fraction of the price of buying them.
I used the dimensions of the Ritva Curtains, estimated how many panels it would take to do our room and forged ahead.
Here’s what I used:
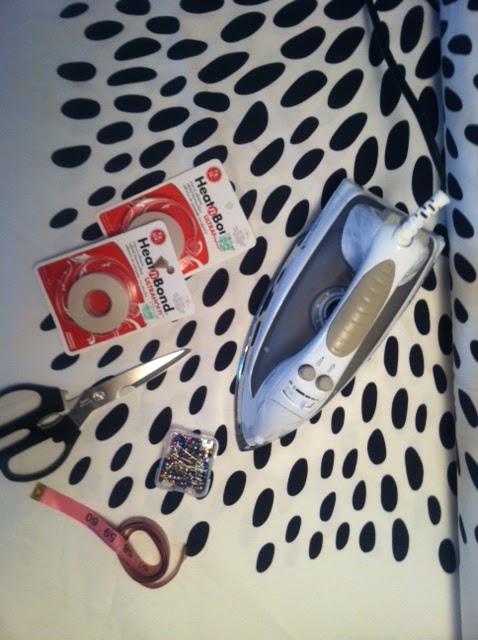
1. Yards and Yards of fabric – I hesitate to give you real dimensions because I suck at that. I went with the 119′ of the Ritva Curtain for my length measurement and the natural width of the fabric (roughly 60″) per panel. After testing my first panel on my widow and the rod I was planning to use, I downsized the length of raw material to 98″.
2. Heat and Bond for no sew projects – can be found at any craft store or Wal Mart for roughly 3 bucks for the biggest roll. I ended up needed 6 rolls/packs, but again, you may need less for less panels.
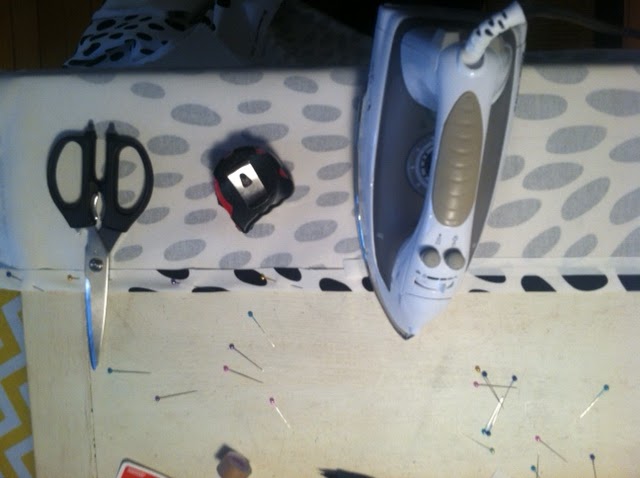
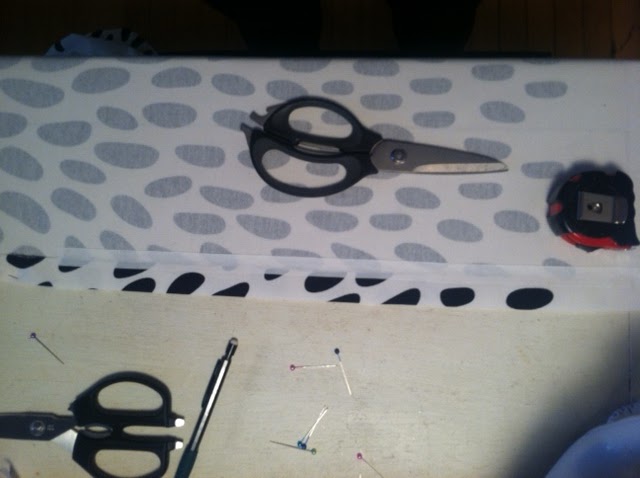
3. A hot iron
4. Tiny straight pins (purchase: any craft/fabric store/Wal Mart for a few bucks)
5. Some sort of measuring device
6. Sharp scissors
7. Not pictured: a pencil
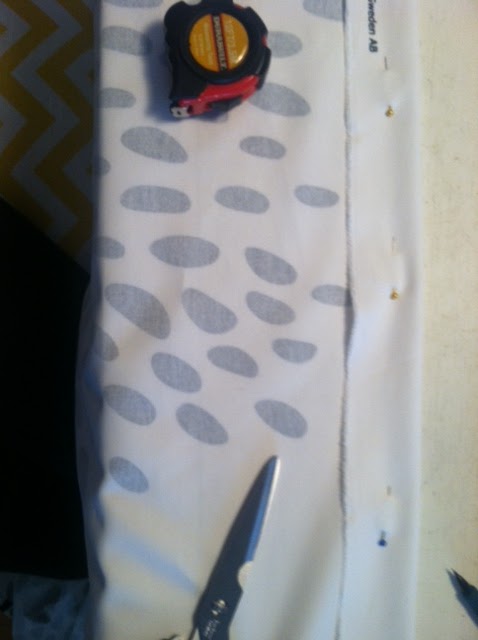
Step 1
Measure out the length of your fabric
Disclaimer: I made sure to give myself many inches of mistake room on the first go ’round.
(I kept the bolt folded in half to cut the length)

Step 2
Head over to your work space with your freshly cut panel. Open it all up and choose which side you’d like to work on first. On my fabric, it was necessary to “hem” all 4 edges to make sure it looked at least a little classy. I always started with the top because I’m OCD. And how did I determine what was the top? I just picked the end that had the black dots closest to the edge. Rocket Science!
Step 3
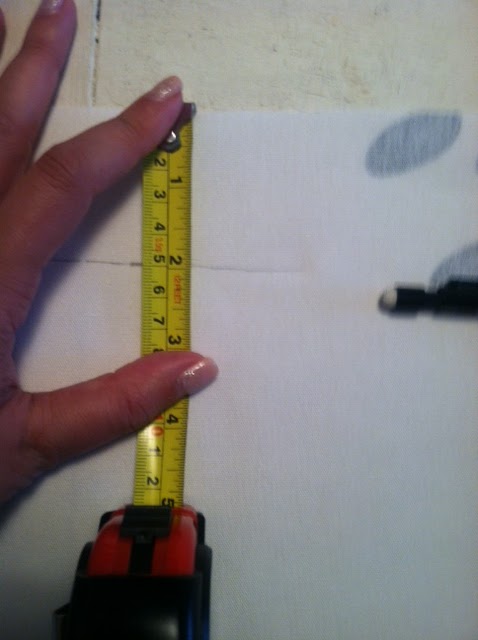
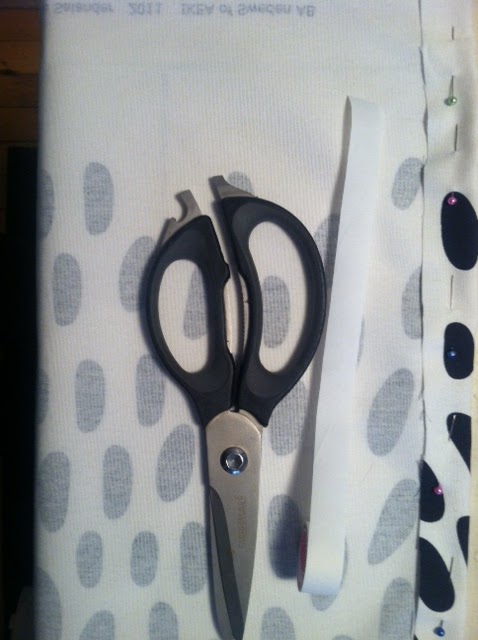
Determine how much of a hem you’d like
For my top and bottom, I chose 2 inches
For my edges I chose 4 because of the Ikea marketing printed down the side.
The thicker the hem, the easier it is to navigate through the next steps, but remember you are losing width and/or length on your panel.
Measure and mark with a pencil.
Step 4
Use a super scientific method to mark your hem line down the length of your fabric.
 |
| Ha! Looks so crooked! |
I should probably go ahead and state that for me, for this project, exact measurements didn’t really affect the end result. I knew the panels would be long and puddle on the floor so the exact length to the inch could have some wiggle room. If you want your panels to gracefully graze the floor just so, then you’ll need to figure out a more precise method than the one I’m working with.
Step 5
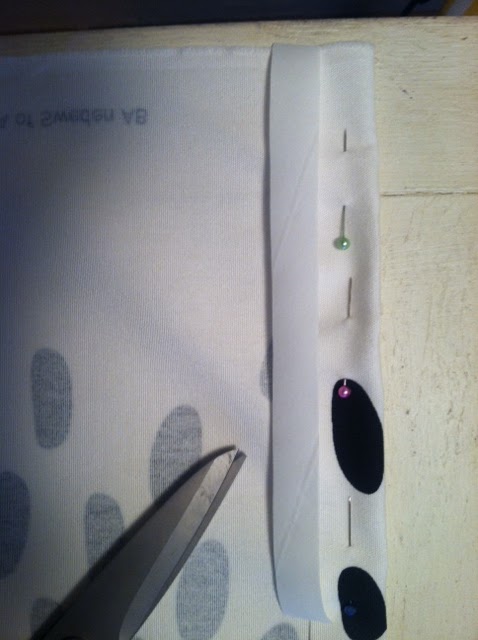
Fold down the raw edge of your fabric to meet the pencil line.
Pin to hold hem in place
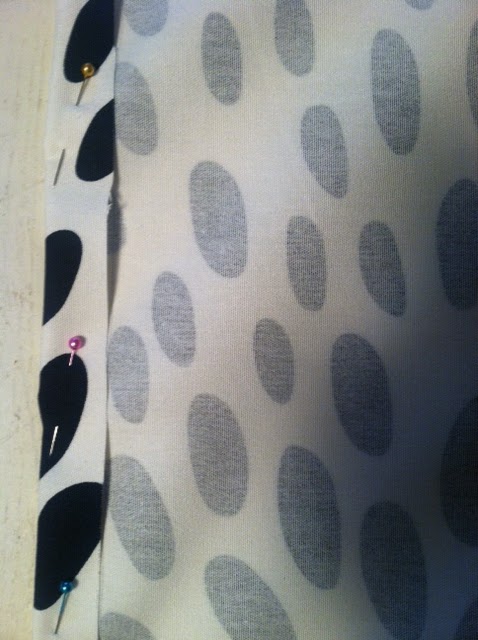 |
| Top Of Panel |
 |
| Side of Panel |
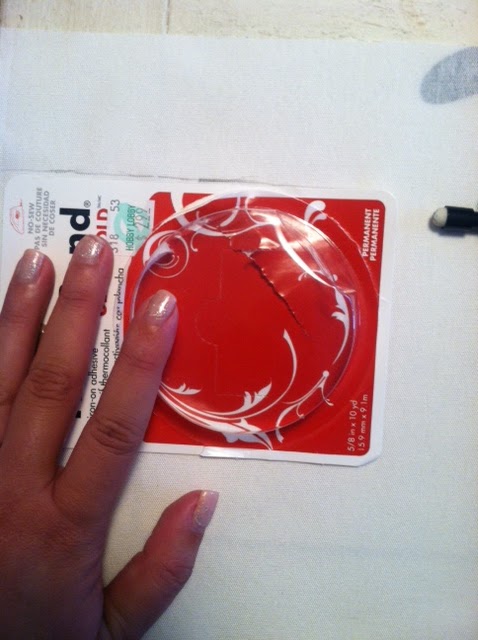
Step 6
Bust out your Heat and Bond Tape
Cut a strip of Tape and lay it paper side up on your seam.
Make sure the strip covers both sides of the seam so that it will bond the hem together.
Step 7
Place the hot iron over a small section of the tape.
Hold for 5 seconds
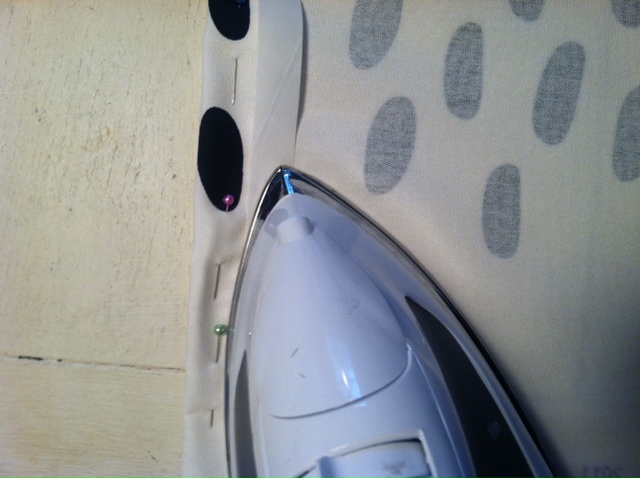
Step 8
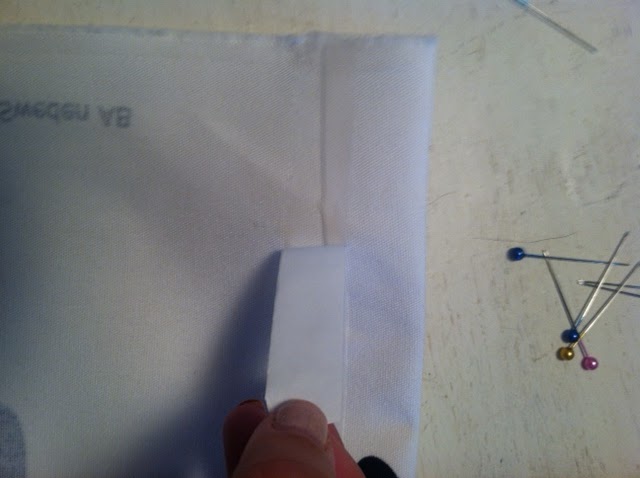
Pull the pins out as you are letting your iron heat the bonding tape. After the pin is gonzo, make sure to run the iron over the edge of the hem to make a sharp edge.
Professional!
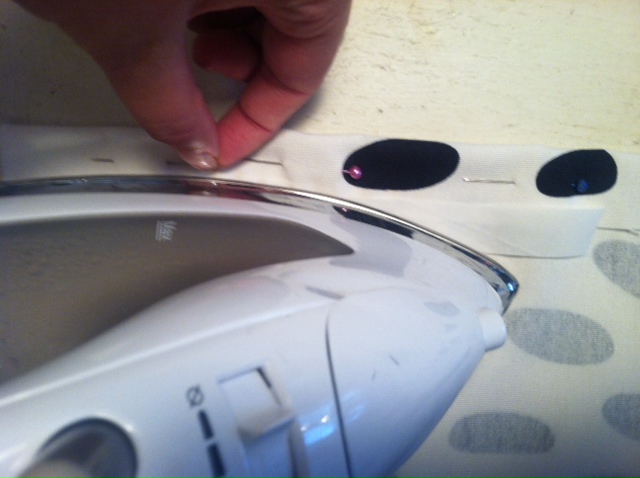 |
| Be careful not to hit those cute little colored balls directly with the iron. They will melt eeeeverywhere. |
Step 9
After you heat up the strip, ensure that the edges are all pressed down and sealed. I would run the plastic scissor handle over the edge while it was still hot to ensure it was good to go.
Step 10
Complete the entire side that you are working so that you have a crisp hem running the length of the panel.
Step 11
When you complete your side, return to the end where it all began – it’s time to pull off that paper backing!
(returning to the beginning ensures that the tape has cooled and sealed)
As you peel off the paper backing, make sure that the tape has covered all of the areas necessary and is bonding all the good stuff together. If a spot looks a little rogue, just cut an appropriate sized piece of tape and heat it over the area needed. No biggie.
Repeat the process for each side of the panel and TA DA!
YOU JUST EFFING MADE CURTAINS!
Ok, here’s the other trick:
I’m sure someone craftier than me could make a hem on the top big enough to slide a curtain rod through. My MIL could make these with grommets and ruffles and bows in her sleep with a real sewing machine. But I was going for easy. So here’s how to make this whole thing the easiest of all:

Curtain Clips!
I bought a pack of large ones to go on the rod that we inherited in our Master for a few bucks.
For the Statement Wall, I went with Dignitet system from Ikea, which also uses curtain clips.
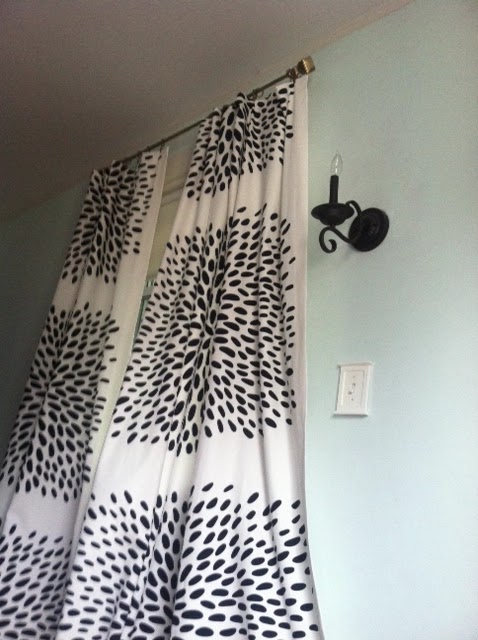
Sneak Peak of the Final Product
(totally un-styled, with bad lighting)
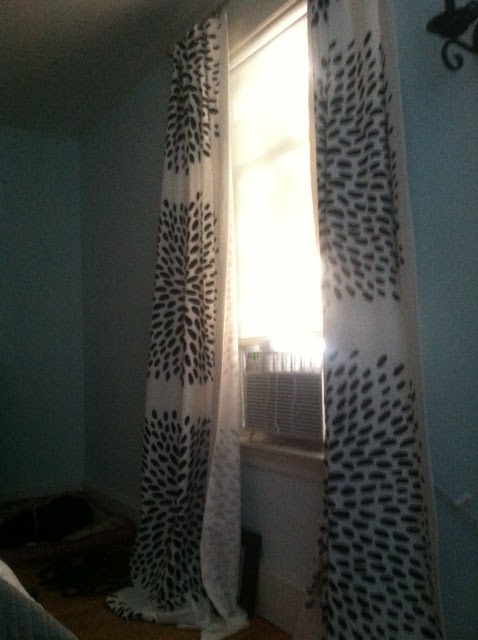 |
| Note how long they are – I actually like that, and if you are going to pull them to the side and tie them, you’ll need that length. If you aren’t into it, then measure accordingly! |
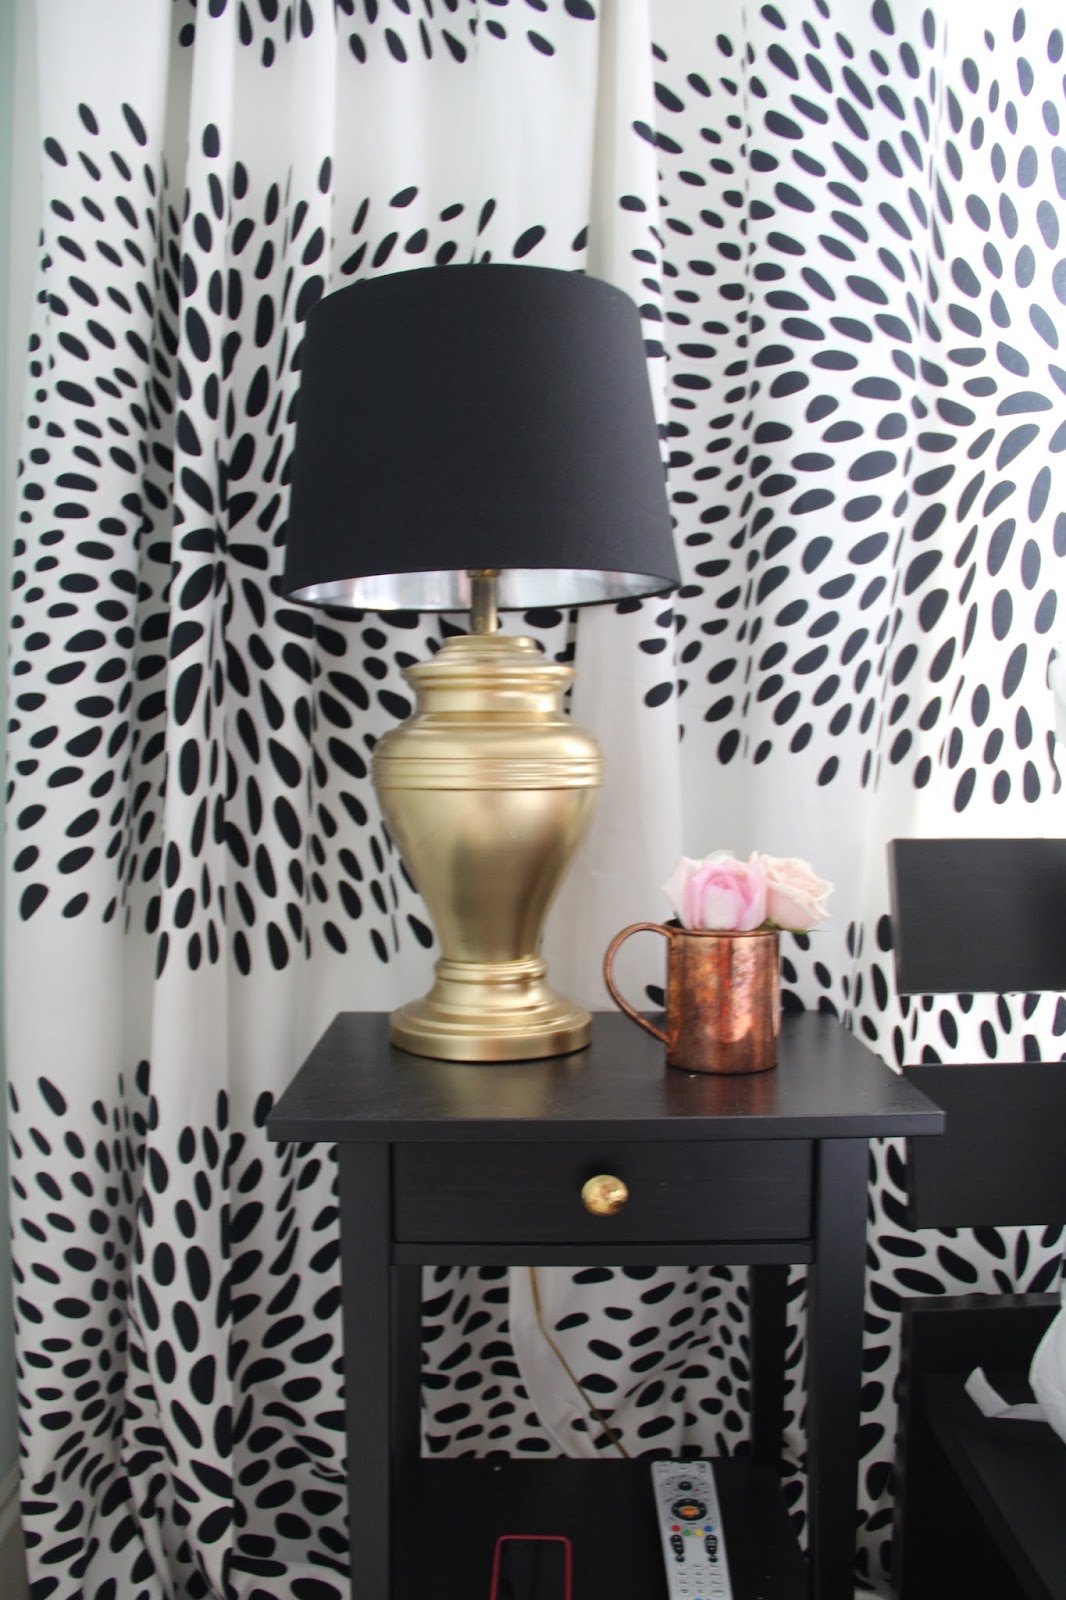
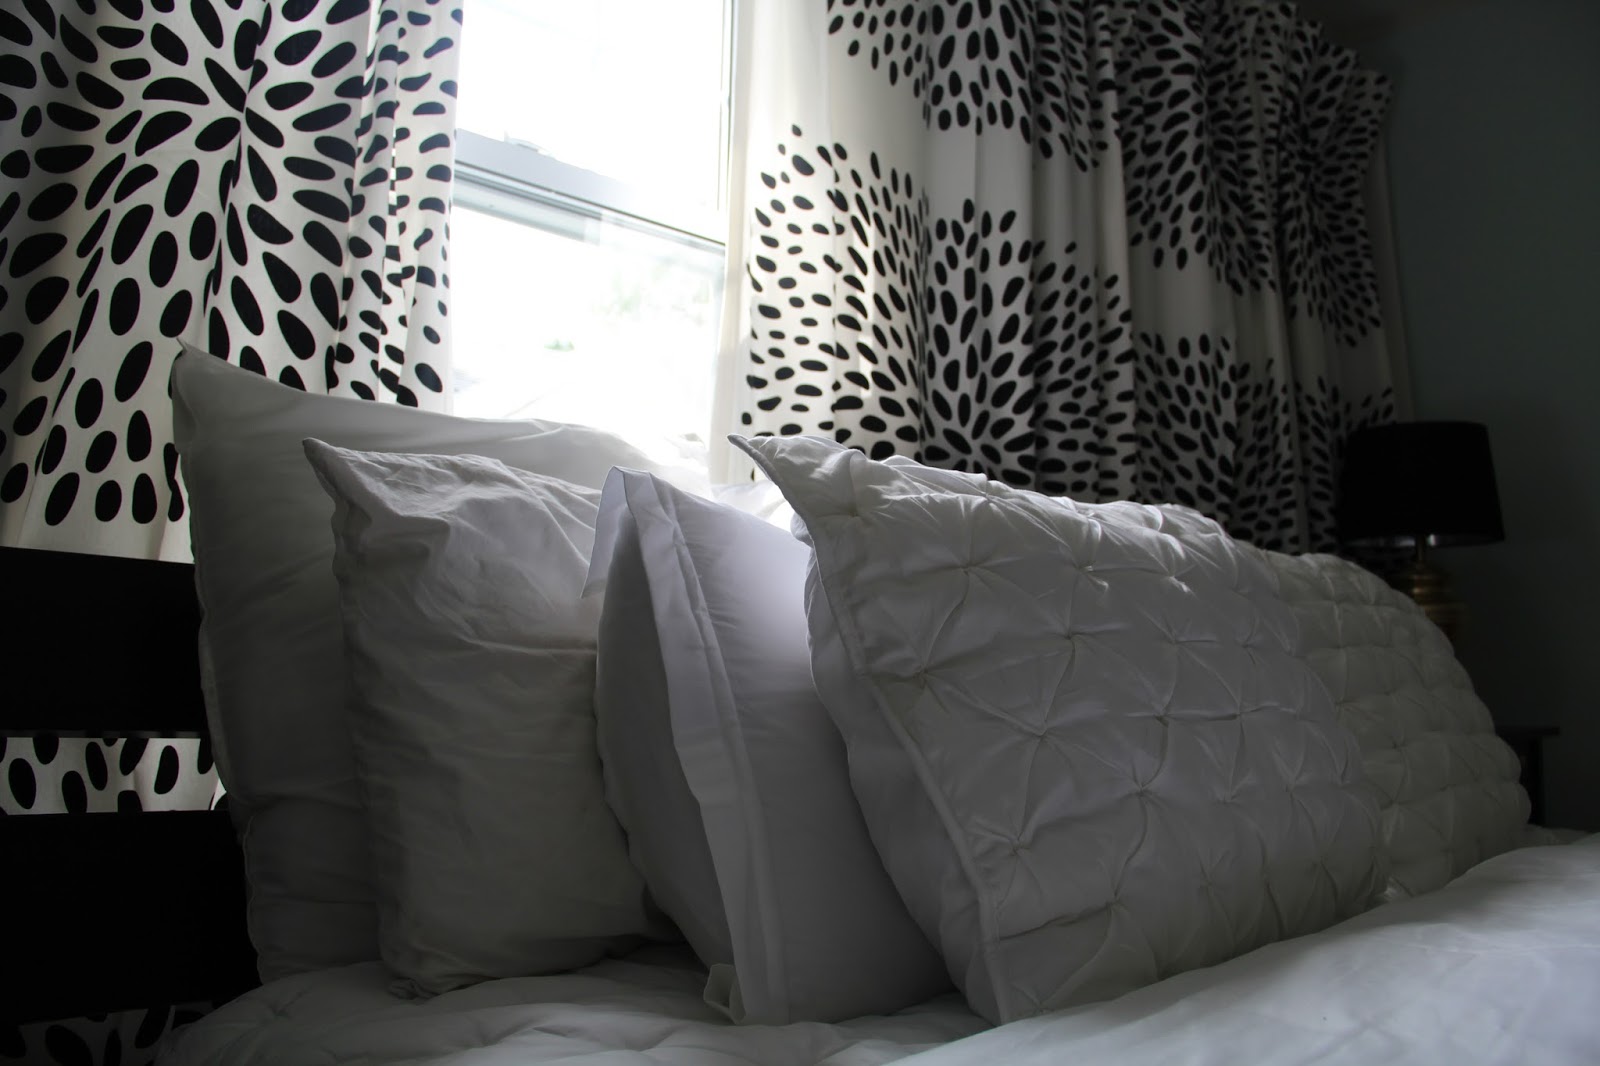
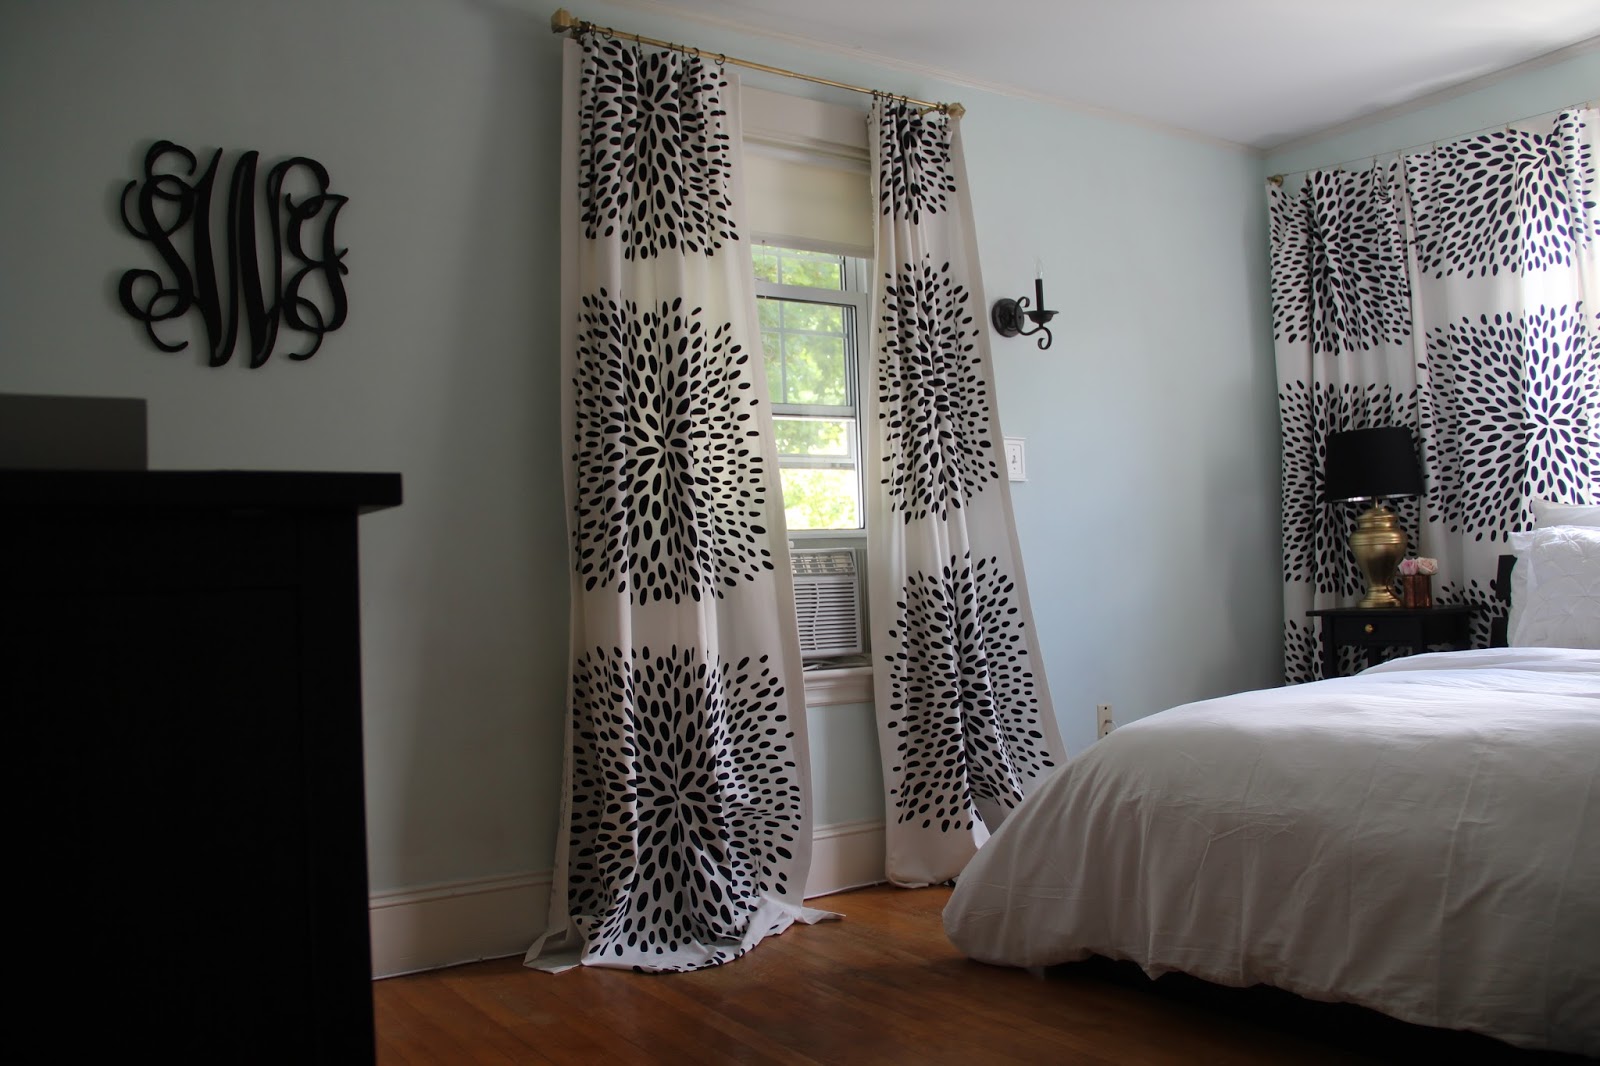
This fabric is super dramatic and I love it (so would Kris Jenner, I’m sure!) and I can’t wait to get it all put together and properly photo-documented!
xoxo,
S
Where did you get the monogram that you have on your wall? I love it (and the curtains)!
these are so gorgeous! you did a wonderful job!
Thanks so much! Happy to have you 🙂
this was so great to read! your blog is very wonderful.
xx
Oh I love this!!!!!!!!!!!!!!!!!!!!!!!!! Yep, Kris Jenner would probably approve as would all those "K" people!!!!!
No puddling on the floor for me … I have enough hair everywhere.
Lovely, truly lovely! And I love the NO SEW way!!!!! 🙂